How to Install a Smart Thermostat: Step-by-Step (2026)

This post may contain affiliate links. Read our policy
Installing a smart thermostat is one of the most satisfying DIY upgrades you can do: it takes 30 to 45 minutes, needs only a screwdriver, and the app walks you through every step. The two things that trip people up — power safety and the C-wire — are easy to handle once you know about them. Here's the complete walkthrough. When you're choosing which model to install, our complete smart thermostat buyer's guide has the picks.
Before you start: what you'll need
- The new smart thermostat (with its included plate and screws)
- A small Phillips screwdriver
- Your phone, with the thermostat's app downloaded
- A pencil and your phone's camera
- Optional: a drill for new mounting holes, and a C-wire adapter if your home needs one
The whole job is low-voltage (24V) and beginner-friendly. The most important habit is simply turning off the power first.
Step 1: Turn off power at the breaker
Don't just switch the system off at the thermostat — cut power to your HVAC at the circuit breaker. This protects you and prevents short-circuiting a wire. Confirm it's off by trying to change the temperature on the old thermostat; nothing should happen.
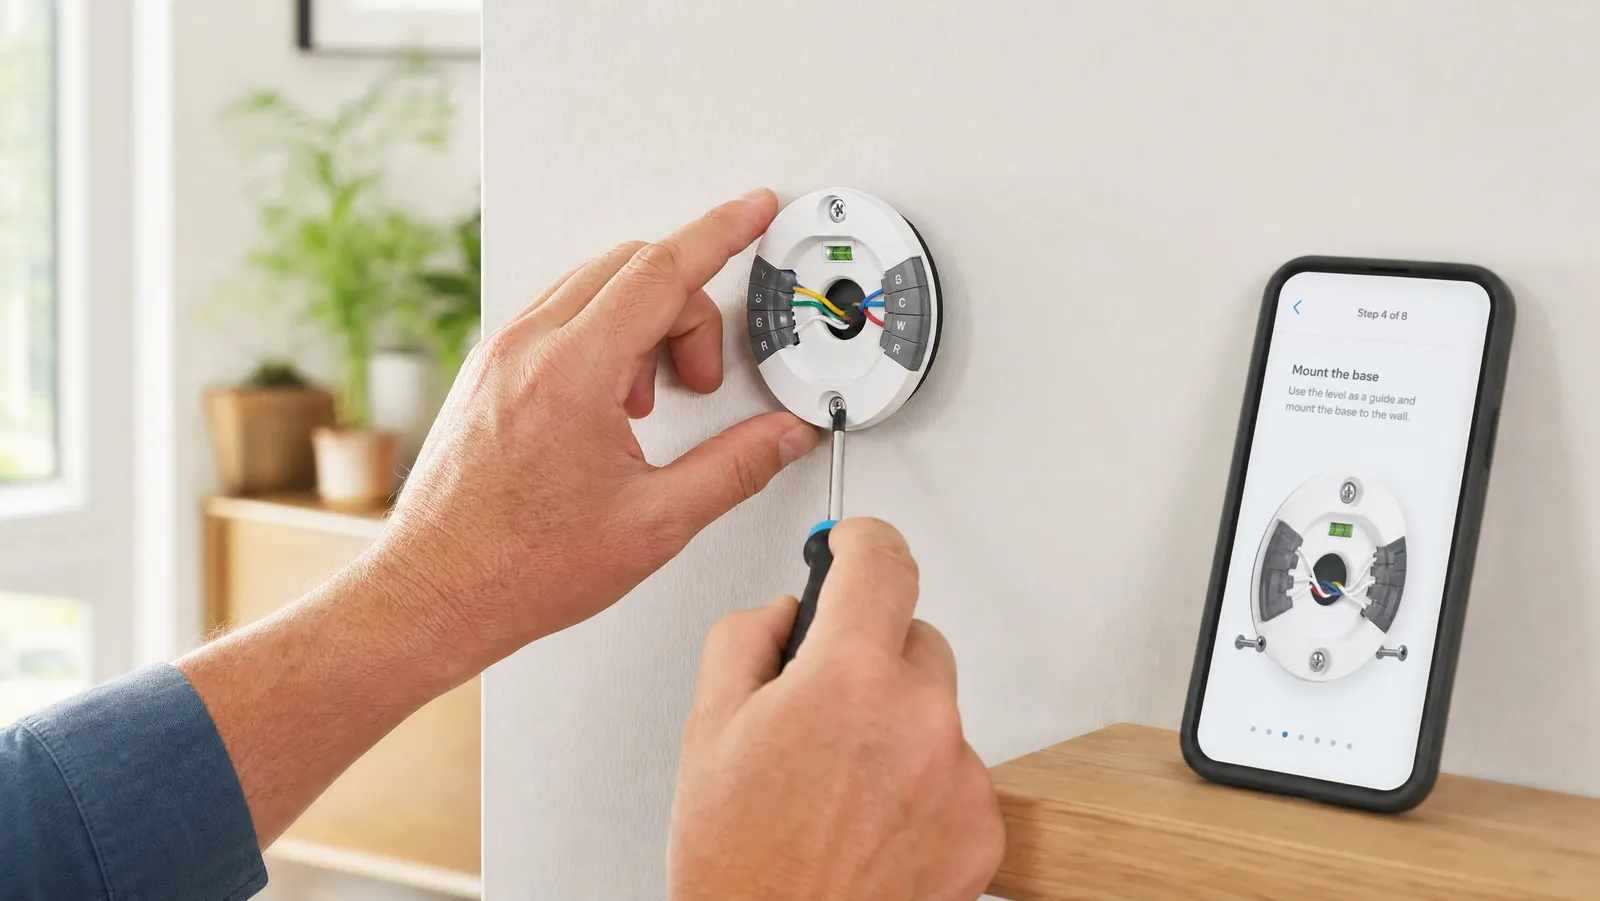
Step 2: Photograph the old wiring
Remove the old thermostat's face to expose the wiring, then take a clear photo of the terminals and which wire goes where. This photo is your map and your safety net — if anything is unclear later, you can always refer back. Note especially whether a wire sits in the C terminal. (Our C-wire explained guide covers what that means.)
Step 3: Label the wires
Use the little stickers included with most thermostats to label each wire by its terminal letter (R, C, W, Y, G, and so on). Then disconnect them. Labeling now saves confusion when you reconnect.
Step 4: Remove the old base plate
Unscrew the old plate from the wall. If wires want to fall back into the wall, wrap them around a pencil so they don't disappear into the cavity. This is also a good moment to address any C-wire solution — installing a Power Extender Kit at the furnace, or wiring in an adapter (see our no-C-wire guide).
Step 5: Mount the new base plate
Position the new plate, use its built-in level (or a small bubble level) to get it straight, and mark your screw holes. Drill if needed, then screw the plate to the wall. Feed the wires through the center opening.
Step 6: Connect the wires
Following your photo and the app's diagram, insert each labeled wire into the matching terminal on the new base. Most smart thermostats use simple push-in terminals — press the tab, insert the wire, release. Double-check each connection is seated firmly.
Step 7: Attach the thermostat and restore power
Snap the thermostat onto its base, then turn the breaker back on. The display should light up. If it doesn't, the most common cause is a power issue related to a missing C-wire — revisit Step 4.
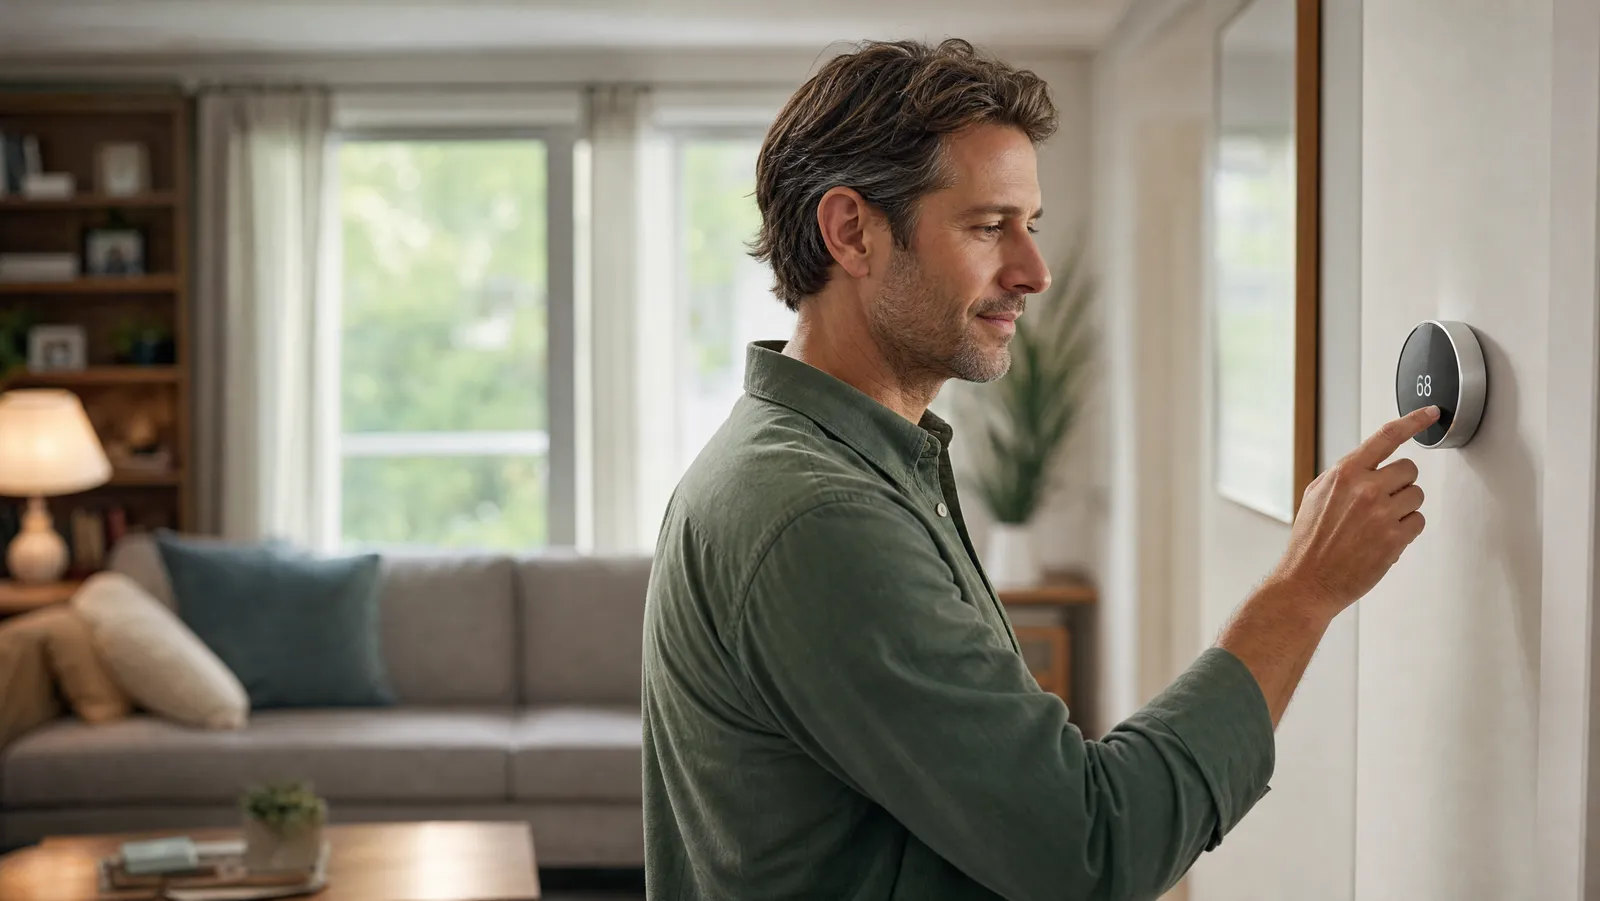
Step 8: Connect to Wi-Fi and configure
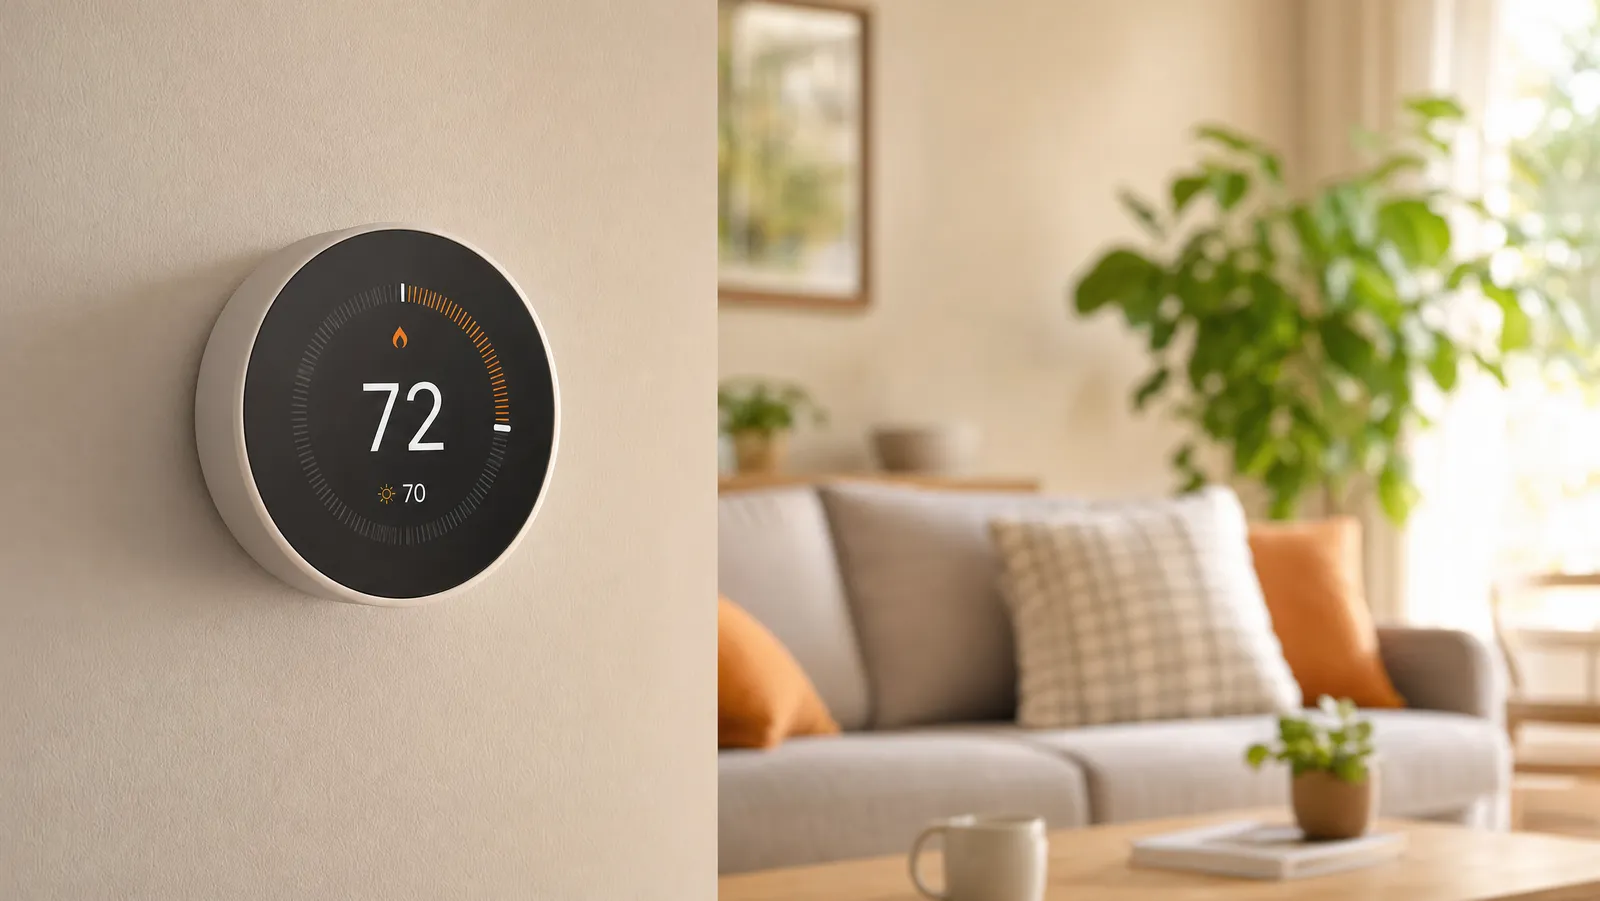
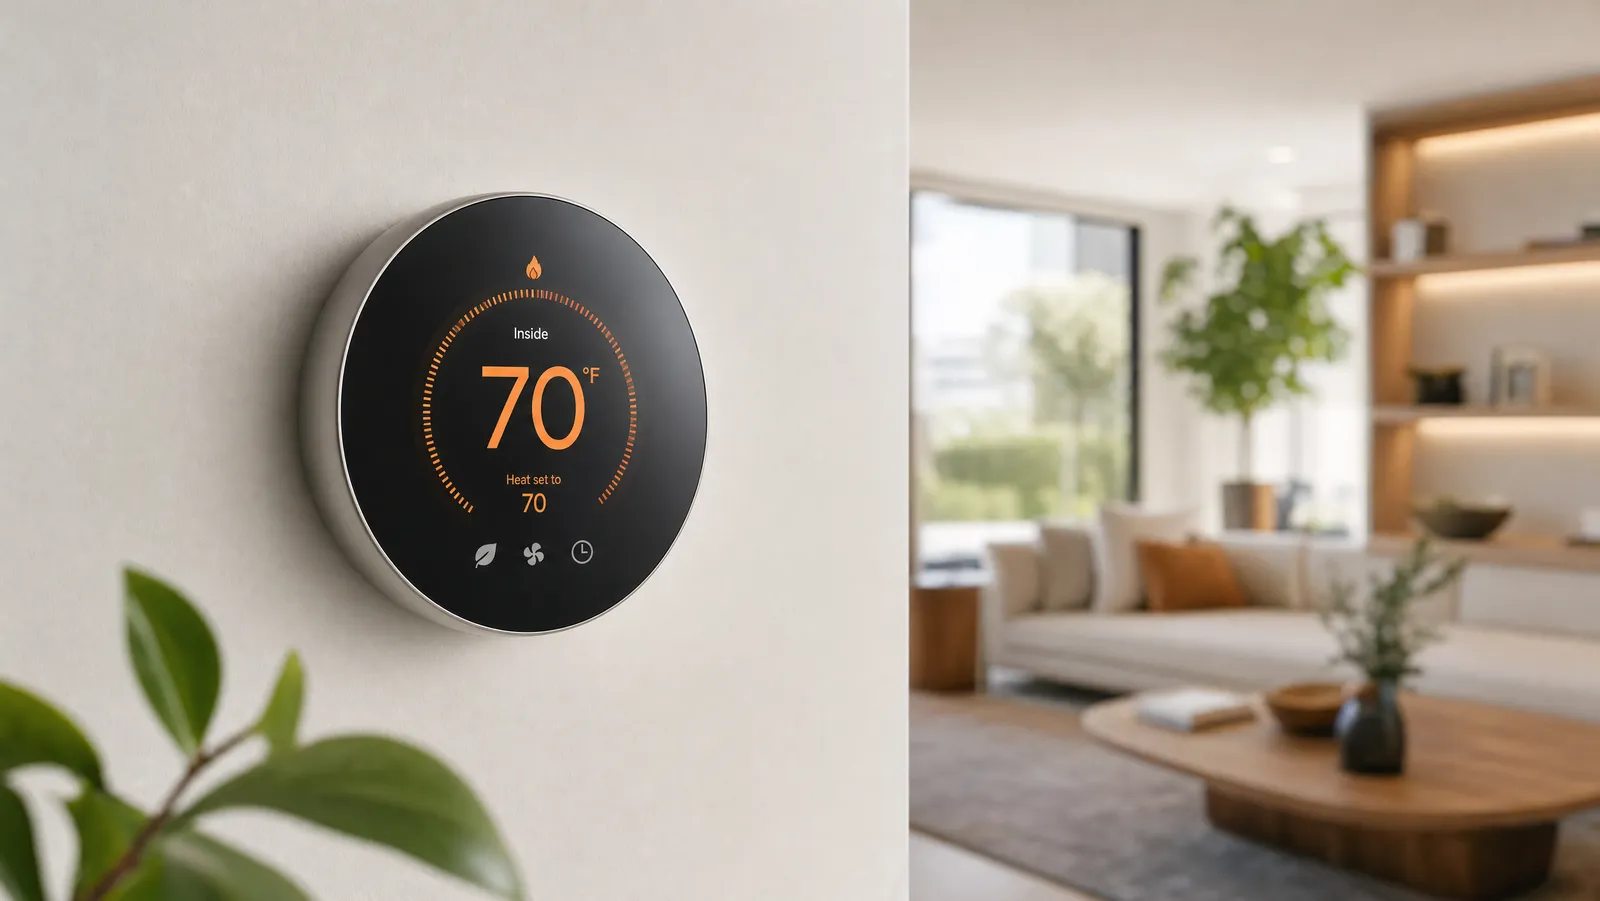
Open the app and follow the pairing steps: connect to your home Wi-Fi, tell it your system type (forced air, heat pump, etc.), and set up your schedule or let it auto-program. Turn on geofencing/away detection here too — it's where much of your savings comes from.
Common installation mistakes
- Skipping the breaker — always cut power at the panel, not just the thermostat.
- No photo of the old wiring — your single best insurance.
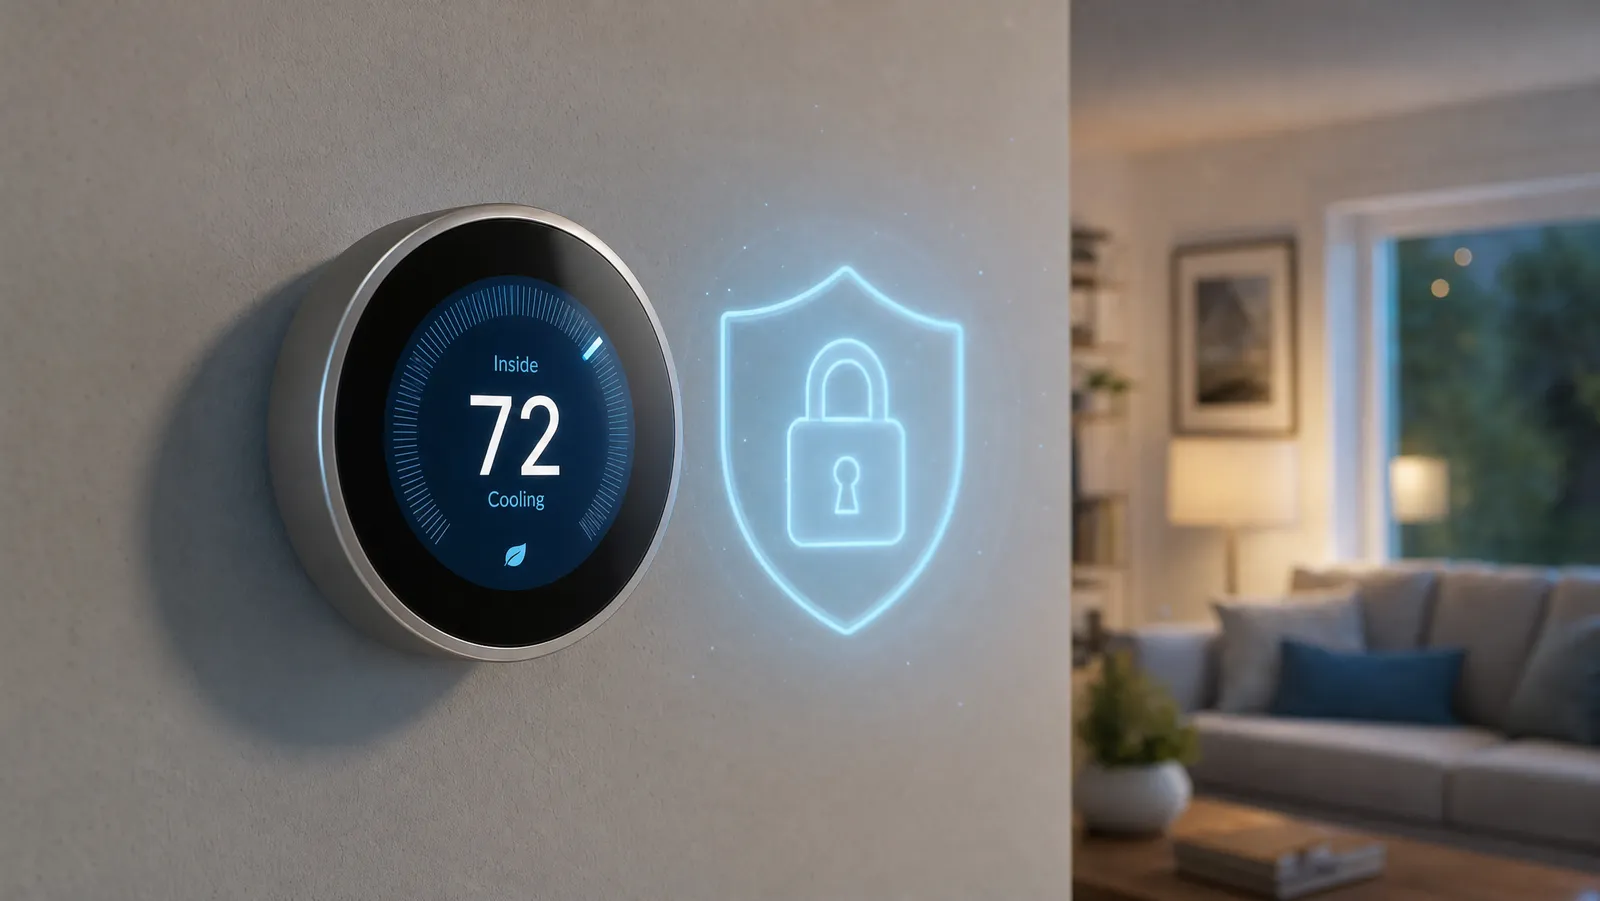
- Ignoring the C-wire — confirm it before you buy and install.
- Mislabeling wires — use the stickers; the terminals each do a specific job.
- Wrong system type in the app — picking the wrong HVAC type can cause odd behavior; see our compatibility guide.
When to call a professional
DIY covers the vast majority of installs, but consider a pro if: you have a complex multi-stage or heat-pump system, high-voltage (line-voltage) baseboard heat, no C-wire and no spare wire to run one, or you're simply not comfortable working with wiring. The cost is modest and the peace of mind is worth it.
Frequently asked questions
How long does it take to install a smart thermostat? Typically 30–45 minutes for a standard system, most of it spent on the app setup rather than the wiring.
Do I need an electrician? Usually not — it's low-voltage DIY. Pros are worth it for complex heat pumps, line-voltage systems, or running a new C-wire.
What if my thermostat won't power on after install? The most common cause is a missing C-wire. See C-wire explained and the no-C-wire guide.
Can I reuse the old thermostat's wires? Yes — that's exactly what you do. Label them, then move each to the matching terminal on the new unit.
The bottom line
A smart thermostat install is a genuine 45-minute afternoon project: kill the power, photograph the wiring, label, mount, connect, and configure in the app. Sort out the C-wire question up front and the rest is straightforward. Haven't picked a model yet? Start with our complete smart thermostat buyer's guide.
About the Author
Ilana Nevin
Ilana Nevin is a content creator and marketing professional who is passionate about new technology, home automation and the smart home revolution. She has been blogging about these topics for over five years and is excited to see how the industry continues to evolve.